
How to Use Grok Build: Install, Login and Core Commands
By CodeAgentSwarm · Updated August 23, 2026
grok binary, authenticate, and work inside a project folder the same way you would with Claude Code or Codex CLI.
Three different products share the word Grok: the consumer Grok chatbot, xAI's official coding CLI called Grok Build (the grok command this guide is about), and unaffiliated community tools named grok-cli on GitHub. CodeAgentSwarm integrates Grok Build, not the chat app.
This guide covers install, first login, the flags you will actually use, session resume, and how CodeAgentSwarm runs Grok Build as a first-class agent next to the rest of your swarm.What is Grok Build?
Grok Build is the official coding CLI from xAI. It runs as an interactive TUI, as a headless one-shot command with grok -p, or as an agent process for editor integrations. Version strings look like grok 0.2.x when you run grok --version.
Data lives under ~/.grok/ by default (config, auth, sessions, skills, rules). You can relocate the whole tree with the GROK_HOME environment variable. Skills follow the agentskills.io layout under ~/.grok/skills/, and MCP servers are configured in ~/.grok/config.toml.
Grok Build moves quickly. Install and auth details can change; when something disagrees with this page, prefer the official xAI CLI docs and grok --help on your machine.
Install Grok Build
The recommended path is the official install script. It works on macOS and Linux, and on Windows via Git Bash or the native PowerShell installer.
# macOS / Linux / Git Bash
curl -fsSL https://x.ai/cli/install.sh | bash

# Verify
grok --version# Windows PowerShell
irm https://x.ai/cli/install.ps1 | iexThe installer places the binary under ~/.grok/bin (or %USERPROFILE%\.grok\bin on Windows) and adds it to your PATH. Update later with grok update.
After install, run grok doctor to check terminal, clipboard and color support before your first long session.
First launch and authentication
From a project directory, run grok. On first launch the CLI opens a browser to authenticate (typically against grok.com). Credentials land in ~/.grok/auth.json and refresh automatically.
For CI or headless environments without a browser, set an API key instead:
export XAI_API_KEY="xai-..."
grok -p "Summarize this repository"
Grok Build is available to try free, while paid xAI plans raise usage limits. Confirm current access before a team rollout and see the Grok Build pricing and access guide.
Commands and flags that matter
You do not need every flag. These are the ones that show up daily:
grok: start the interactive TUI in the current directorygrok "fix the flaky test": open the TUI with an initial promptgrok -p "..."(or--single): one-shot headless prompt to stdoutgrok --continue/-c: continue the most recent session for this cwdgrok --resume/-r: resume by session id or titlegrok --always-approve: auto-approve tool runs (YOLO-style; use carefully)grok --worktree=name: start in a new git worktreegrok --no-plan/--no-subagents: disable plan mode or native subagentsgrok sessions list/search: find past sessionsgrok export: export a transcript as Markdown
Permission modes include default, acceptEdits, auto, dontAsk, bypassPermissions and plan via --permission-mode. Plan Mode is covered in depth in the Plan Mode guide.
grok --help
grok doctor
grok sessions list
Run Grok Build inside CodeAgentSwarm
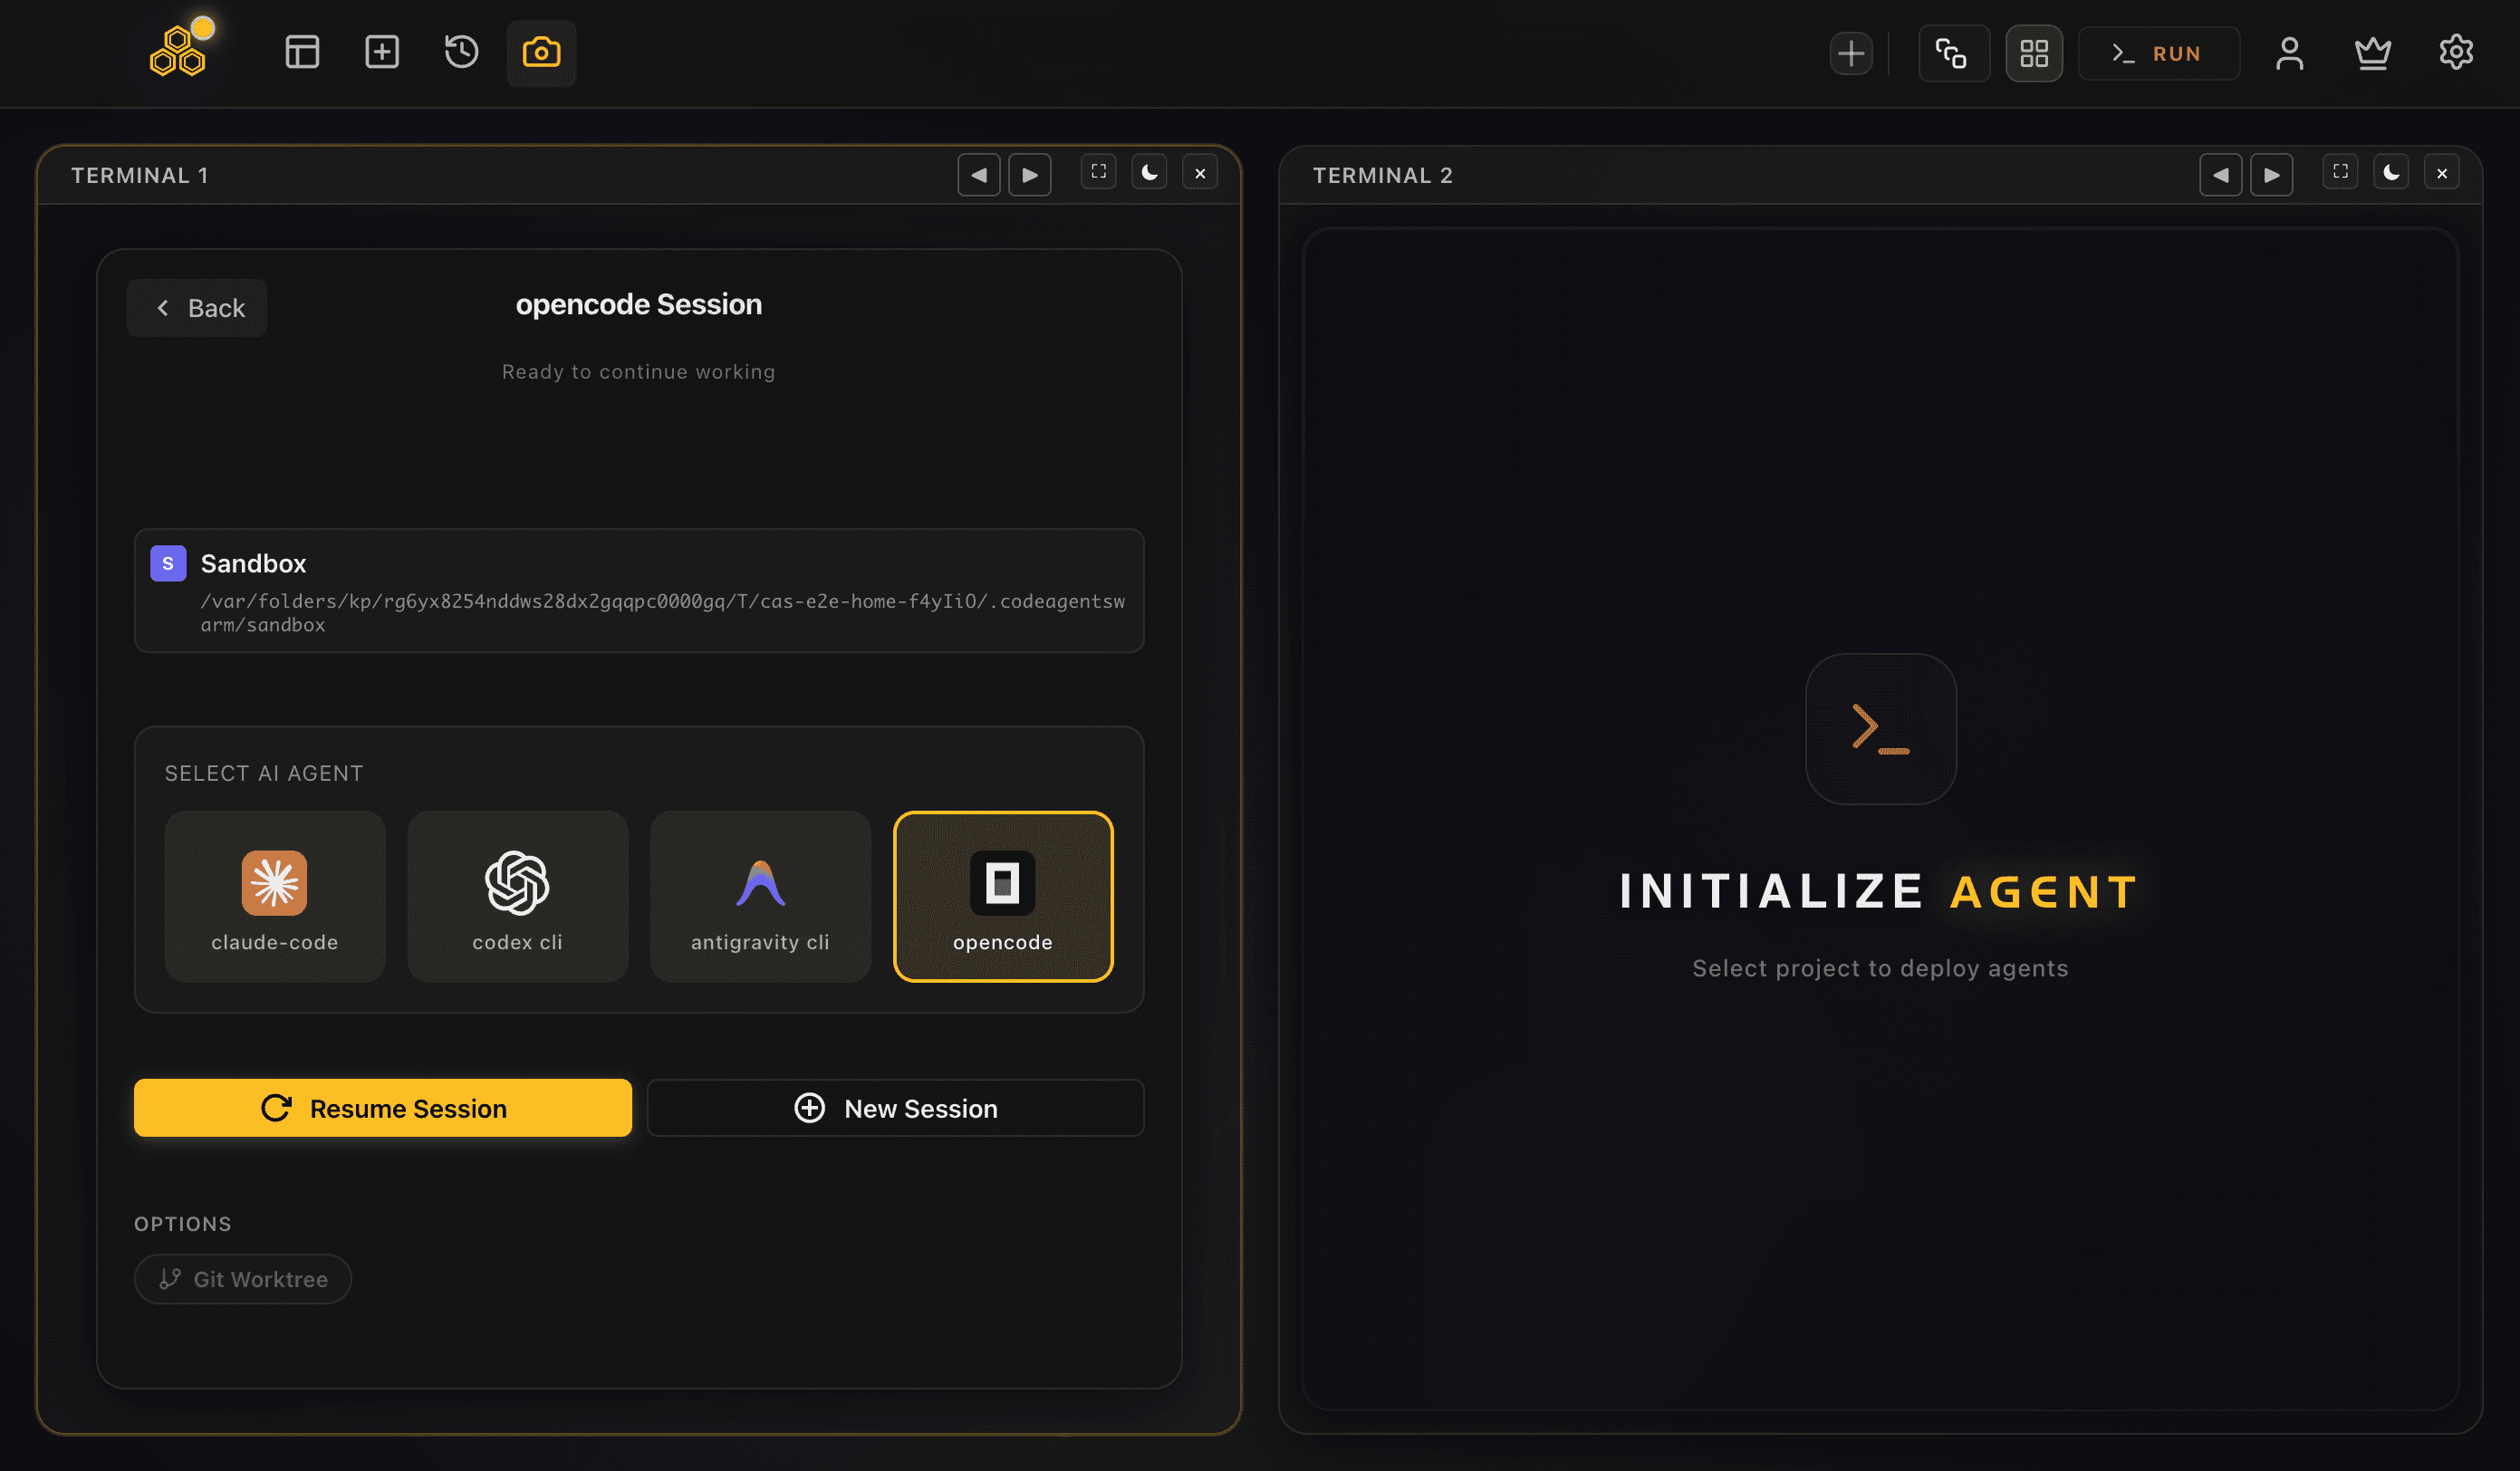
CodeAgentSwarm is a desktop workspace that runs on top of the official CLIs. Install Grok Build on the machine, open CodeAgentSwarm, and choose Grok Build in the SELECT AI AGENT picker for that terminal. From there you get desktop notifications when a session finishes or needs input, searchable history across agents, live per-terminal diffs, and the ability to mix Grok Build with Claude Code, Codex, Antigravity, OpenCode and Kimi Code in one window.
That is different from Grok Build's own native subagents: those stay inside one vendor session. A CodeAgentSwarm swarm is several independent terminals you supervise. The Grok Build agent swarm guide and the subagents vs swarm comparison spell out the difference.
FAQ
No. Grok Build is xAI's coding CLI (the grok command). The Grok chatbot is a separate consumer product. CodeAgentSwarm integrates the CLI.
On macOS and Linux run curl -fsSL https://x.ai/cli/install.sh | bash. On Windows PowerShell use irm https://x.ai/cli/install.ps1 | iex. Then run grok --version.
Yes. Install the CLI, pick Grok Build in the agent picker, and run it like any other supported agent with notifications, history and live diffs.
Use grok --continue for the latest session in the current directory, or grok --resume with a session id or title. grok sessions list helps you find them.