How to Run Codex CLI on Windows: Native Install or WSL
Quick answer: yes, Codex CLI runs on Windows
Quick answer: install Node.js, then open PowerShell and install @openai/codex with npm. When it finishes, run codex inside a project folder and sign in with your OpenAI account.
# PowerShell - install Codex CLI globally with npm
npm install -g @openai/codex

# Verify the install
codex --version

# Start Codex inside a project folder
codex
That is the whole native path on Windows: Node.js plus one npm install. You do not need WSL just to run Codex CLI. WSL becomes the better option only when your project itself depends on Linux tooling, which we cover further down.
For the exact installation commands and the latest options, check the official OpenAI Codex CLI repository, since the install method evolves over time. This guide mirrors our Claude Code on Windows guide, but for OpenAI Codex.
What you need before installing
- Windows 10 or Windows 11, 64-bit. Codex CLI is a command-line tool you run from a terminal.
- Node.js (a recent LTS release) and npm, which ships with Node.js. This is what the native Windows install relies on.
- A terminal: Windows Terminal or PowerShell, both of which come with Windows. PowerShell is fine for installing and running Codex.
- An OpenAI account with Codex access, so you can sign in the first time you run it.
If you do not have Node.js yet, install it from the official Node.js site or with a Windows package manager like WinGet (winget install OpenJS.NodeJS.LTS). After installing, close and reopen your terminal so node and npm are on your PATH.
Native Windows install step by step
Once Node.js is in place, installing Codex CLI natively on Windows takes about a minute:
- Open Windows Terminal or PowerShell. You do not need to run it as administrator.
- Confirm Node.js is ready with
node --versionandnpm --version. - Install Codex CLI globally:
npm install -g @openai/codex - Close and reopen the terminal so the new command is on your PATH.
- Run
codex --versionto confirm it is installed.
To update Codex later, run the same npm install command again, which pulls the latest published version:
npm install -g @openai/codex@latestIf npm install -g fails with a permissions error, avoid running PowerShell as administrator just to force it through. The cleaner fix is a Node.js setup where your global npm folder lives under your user profile, which a standard Node.js installer on Windows already handles.
First run: signing in
- Open a terminal in a project folder and type
codex. - The first time, Codex walks you through signing in with your OpenAI account.
- Your browser opens for the OpenAI login. Sign in, then return to the terminal.
- Back in the terminal, you are ready: ask Codex something about your code and let it work.
After you sign in once, Codex remembers your credentials, so the next time you run codex in any folder it starts straight away. Each terminal you open is its own independent Codex session.
Running Codex CLI in WSL (and when to prefer it)
WSL (Windows Subsystem for Linux) lets you run a real Linux environment inside Windows. Codex CLI runs there exactly the same way, and there are two scenarios where WSL is the better choice:
- Your project depends on Linux tooling. If your build chain, scripts or dependencies assume Linux, run Codex CLI where your project actually runs so paths and shell commands match.
- You want stronger isolation for command execution. Some sandboxing and Linux-native command behavior only lines up properly inside a Linux environment, which on Windows means WSL 2.
To run Codex inside WSL, open your WSL distribution terminal (not PowerShell), make sure Node.js and npm are installed inside that Linux environment, and install Codex CLI there:
# Inside your WSL (Linux) terminal
npm install -g @openai/codex

# Then run it from your project
codex
One thing to watch in WSL: the browser-based sign-in sometimes shows you a code instead of redirecting back automatically. If that happens, paste the code into the terminal when it asks for it, and keep your project files inside the Linux filesystem for the best performance.
Native Windows vs WSL: which one should you use?
- Native Windows: best for Windows-native projects (.NET, Unity, general web dev with Windows tooling). Simplest setup, just Node.js plus an npm install, and it runs straight from PowerShell.
- WSL 2: best for Linux toolchains and stronger command isolation. Your files live in the Linux filesystem, so Linux-first projects behave exactly as they would on a server.
- WSL 1: only if WSL 2 is not available on your machine. It has known issues running native binaries, so prefer WSL 2 whenever you can.
If you are unsure, start native. It is the path of least friction on Windows and you can always add a WSL install later; both can coexist on the same machine, and you can even point different Codex terminals at different setups.
Common Windows errors and how to fix them
- "codex is not recognized as a command": the global npm bin folder is not on your PATH, or you did not reopen the terminal after installing. Close and reopen PowerShell, and confirm
npm config get prefixpoints at a folder that is on your PATH. - "npm is not recognized": Node.js is not installed or not on your PATH. Install Node.js LTS, reopen the terminal, and check
node --version. - EACCES or permission errors on
npm install -g: your global npm folder is not user-writable. Reinstall Node.js with the official Windows installer or set an npm prefix under your user profile instead of forcing it with admin rights. - Corporate proxy or SSL errors during install: configure npm with your proxy settings, or run the install from a network that is not behind the proxy, then update later.
- Codex behaves oddly with Windows paths or shell commands: your project likely expects a Unix shell. Run Codex inside WSL for that project so paths and commands match.
For anything else, the official Codex CLI repository tracks known issues and the current install instructions, which is the source of truth as the tool evolves.
Running multiple Codex sessions on Windows
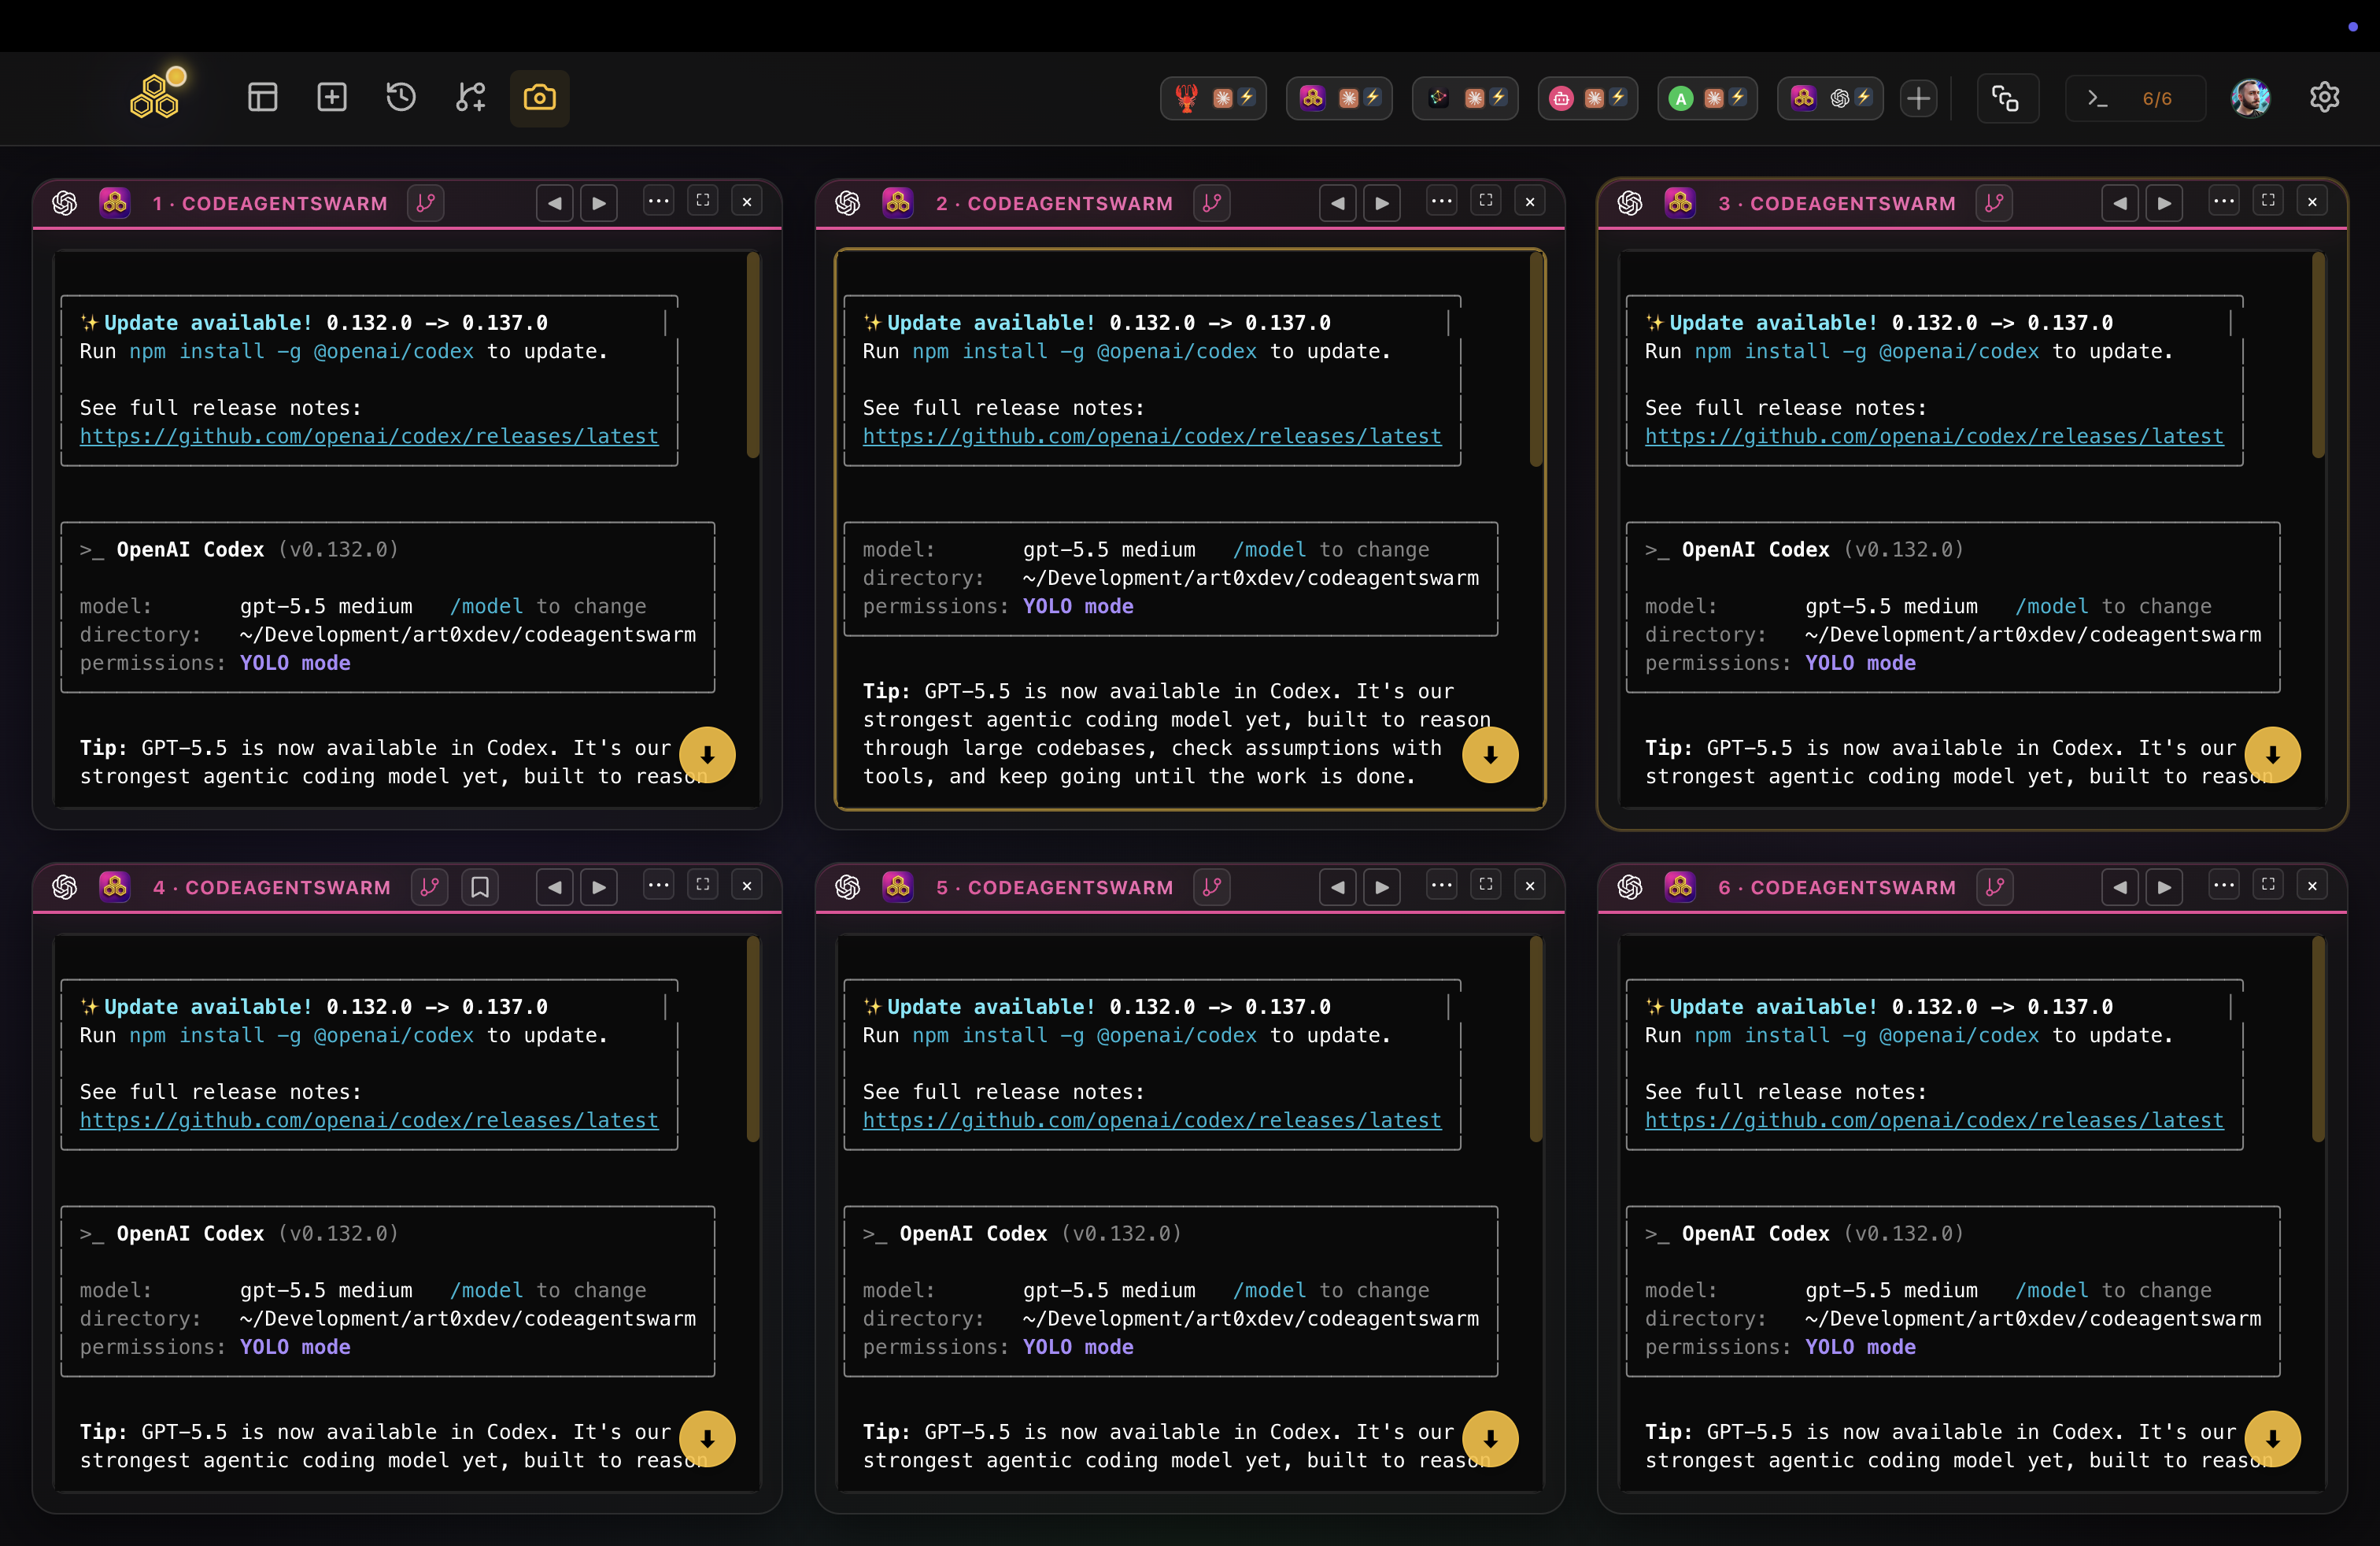
Once Codex CLI is working, the next bottleneck shows up fast: one terminal means one task at a time. You hand Codex something to do, and then you wait. Most developers end up opening several terminal tabs and losing track of which agent finished, which one is waiting for an approval, and what each one changed.
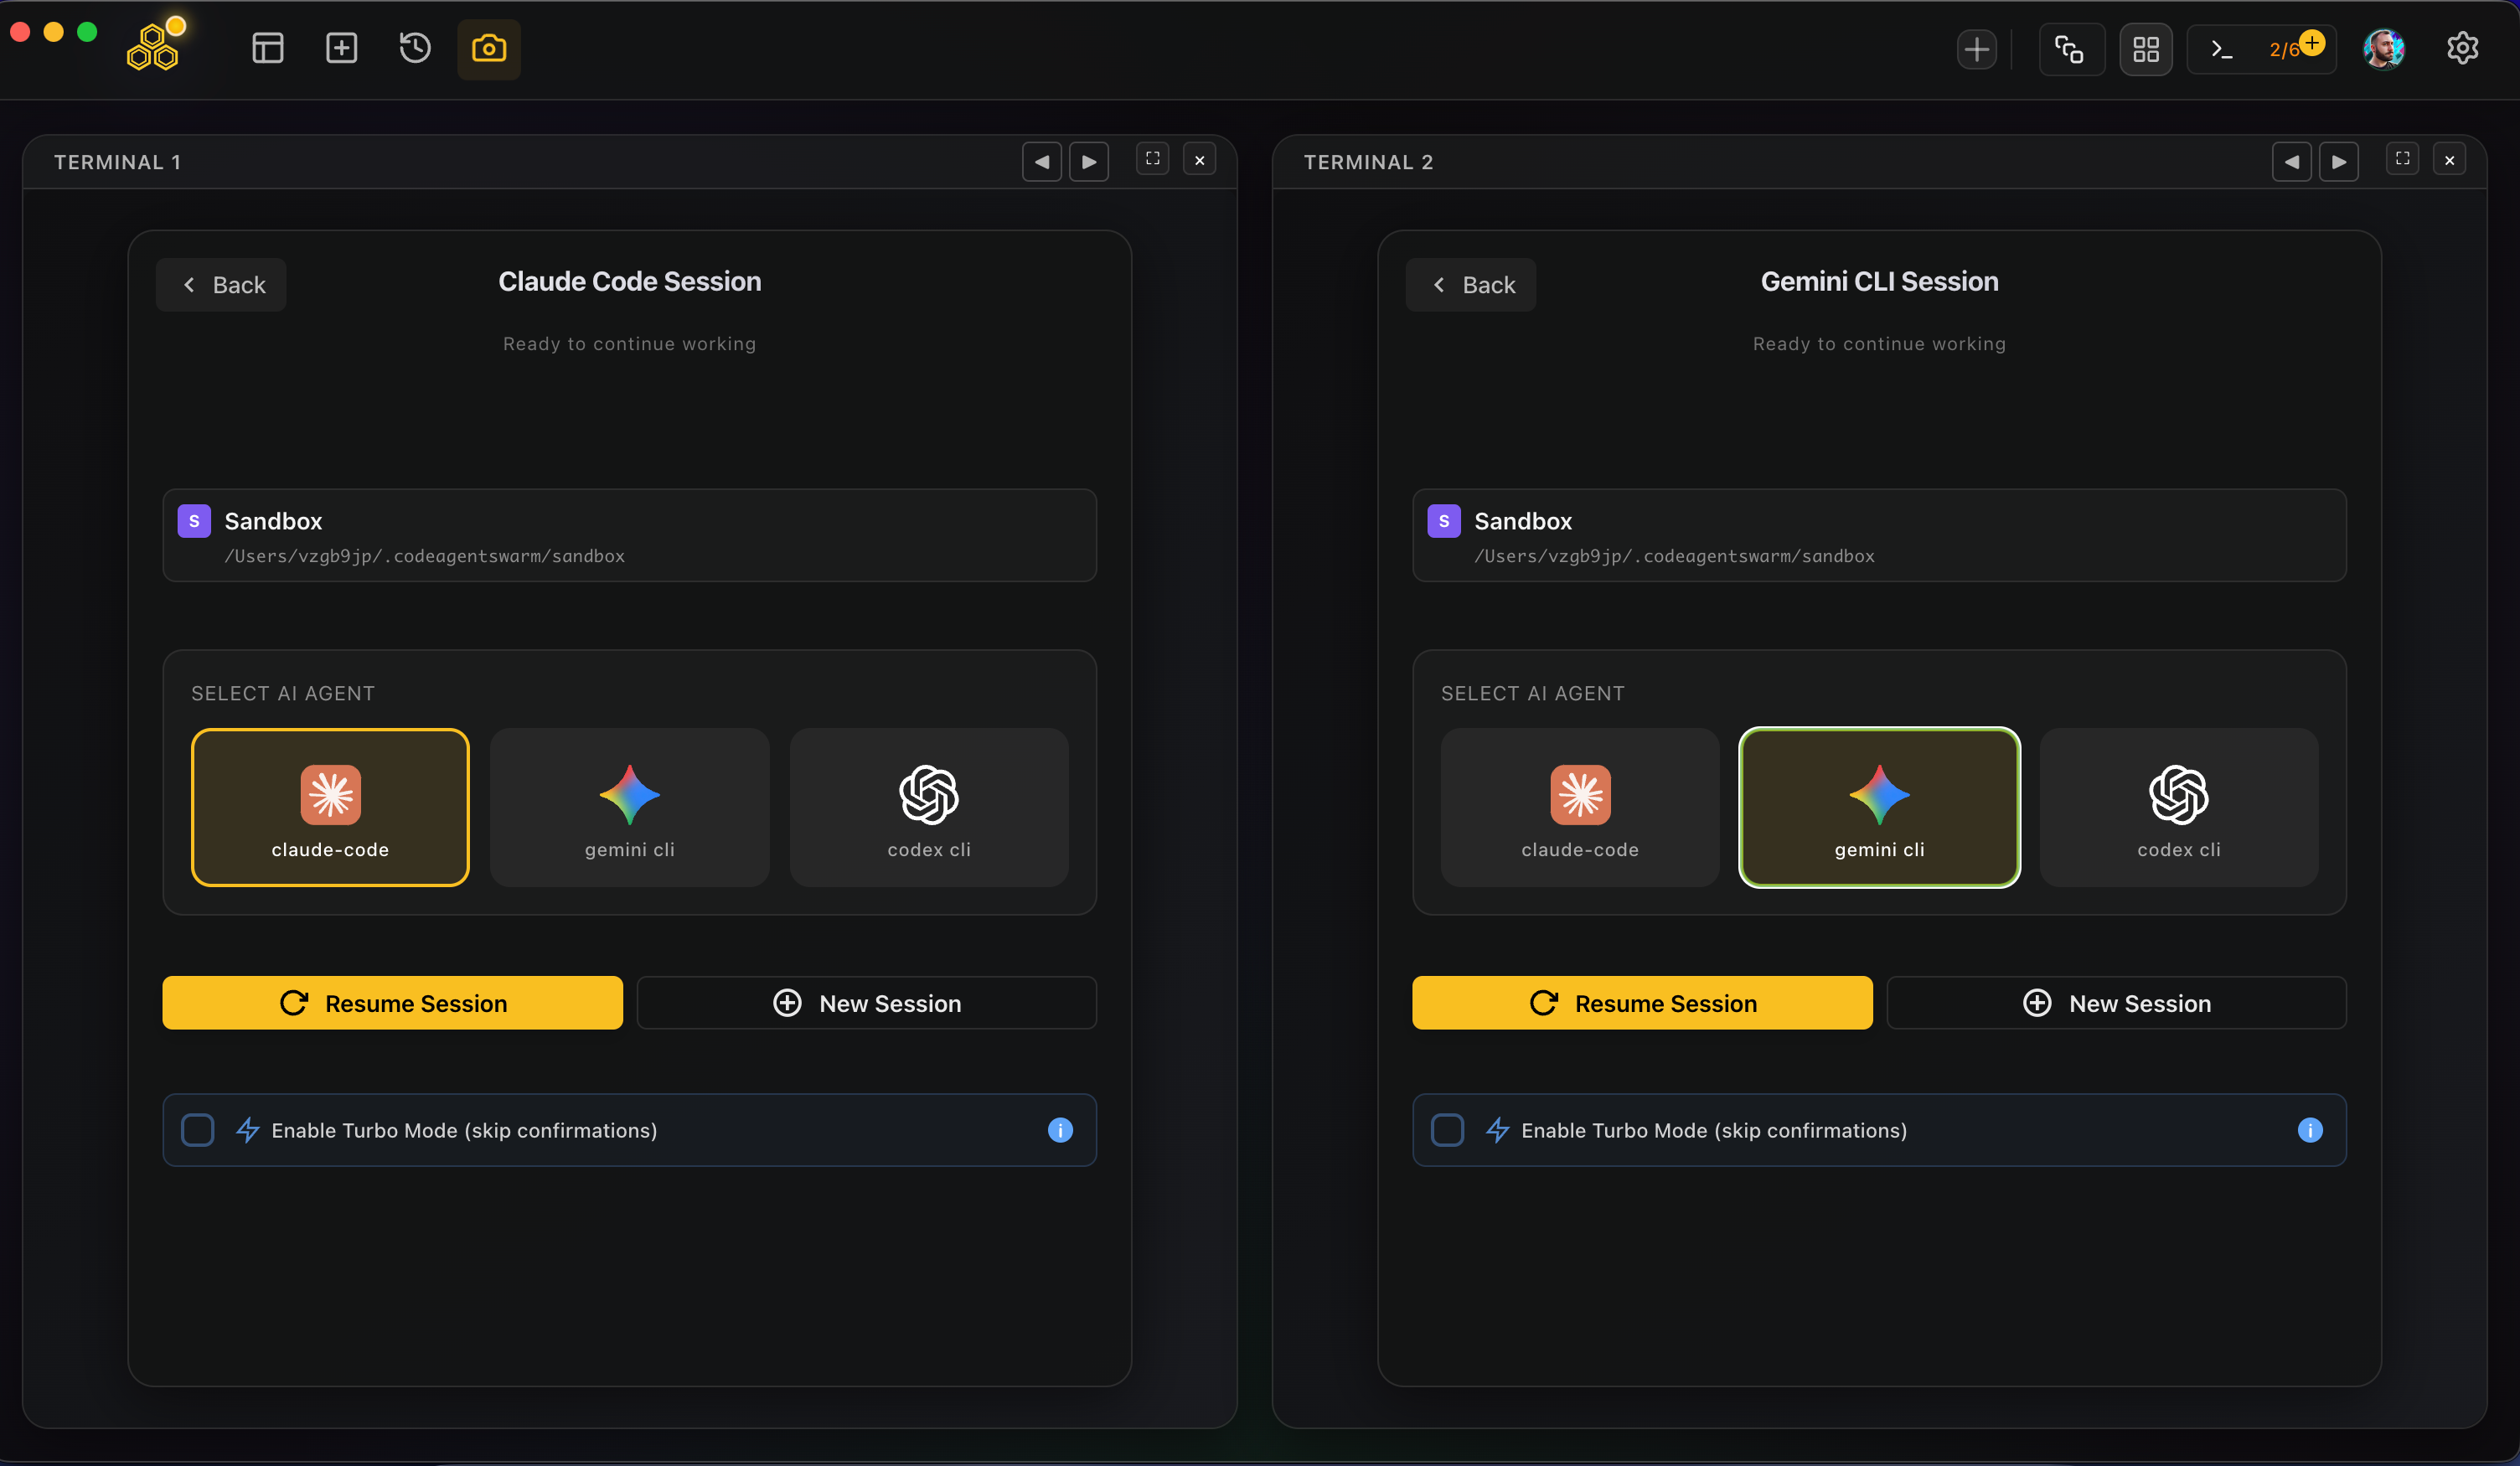
That is the problem CodeAgentSwarm solves, and it is a native desktop app for both Windows and macOS. It runs your Codex CLI inside a visual workspace, so Windows developers get a real GUI plus up to six Codex terminals side by side, with desktop notifications when an agent finishes or needs input, searchable history across every session, and a live diff of what each terminal changed.
If you want to go down that path, these guides are the natural next step: running a Codex agent swarm, running multiple Codex sessions, and the broader AI CLI agent swarm overview across every CLI.
Conclusion
Running Codex CLI on Windows is straightforward: install Node.js, run one npm install, and start it from PowerShell. Native is the right default for most Windows developers; WSL 2 is there when your project depends on Linux tooling or you want stronger command isolation.
Install it, sign in once, and when a single terminal stops being enough, CodeAgentSwarm gives you a native Windows GUI to run several Codex agents in parallel without losing the plot.
FAQ
Yes. You can install OpenAI Codex CLI natively on Windows with npm in PowerShell, as long as you have Node.js installed. You can also run it inside WSL if your project depends on Linux tooling. Both approaches work, and they can coexist on the same machine.
No. The native path is to install Codex CLI with npm and run it from PowerShell. WSL is only the better choice when your project itself depends on Linux tooling or you want stronger command isolation. For most Windows-native projects you can skip WSL entirely.
Install Node.js (a recent LTS release), open PowerShell, and run "npm install -g @openai/codex". Reopen the terminal, run "codex --version" to confirm, then run "codex" inside a project folder and sign in with your OpenAI account. Check the official OpenAI Codex repository for the latest exact commands.
Yes. Each Codex CLI session is its own process, so you can open several terminals and run codex in each one on the same project. CodeAgentSwarm is a native Windows desktop app that supervises up to six Codex terminals in one visual workspace, with notifications, searchable history and live diffs.
Yes. CodeAgentSwarm is a native desktop app for Windows (x64 and ARM64) and macOS. It runs on top of your existing Codex CLI install and lets Windows developers supervise several Codex terminals in parallel with a real GUI.
CodeAgentSwarm is a native Windows desktop app. Download it free and run several Codex CLI terminals side by side in a visual workspace, with notifications, searchable history and live diffs.
Try CodeAgentSwarm